Table of Contents
USB Printer Server
The printer server is built-in and enabled by default. There are no options or preferences in the web interface to modify. Simply connect a USB printer to the network drive and install it on your computer to start using it.
Not all USB printers are supported, e.g. multi function all-in-one printers and GDI/host-based printers, therefore, your printer may not be compatible and printing might fail.
The MyCloud Pro does NOT have a printer server. This function is only available for the MyCloud Mini, the MyCloud ONE and the MyCloud Duo.
Installation on a PC
Printing via the shared network printer will be slower than when the printer is connected directly to the USB port on the computer. After you press the Print button, please wait for the printer to receive the data.
Follow the steps below to complete the installation of a printer on a PC.
- Connect your USB printer to the USB host port on the network drive and turn both units on.
- We recommend using a fixed IP address for your network drive, in order to prevent having to modify the printer setup whenever the IP changes.
- On your PC, go to Start and select Printers and Faxes.
- Go to File, select Add Printer to bring up the printer setup wizard and click Next to start.
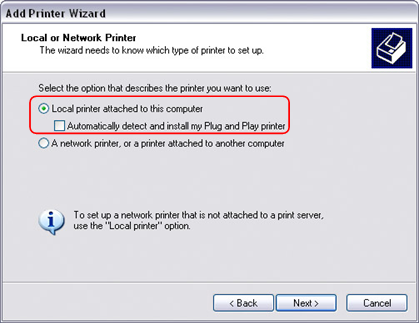
- Select Local printer attached to this computer, deselect Automatically detect and install my Plug and Play printer and click Next.
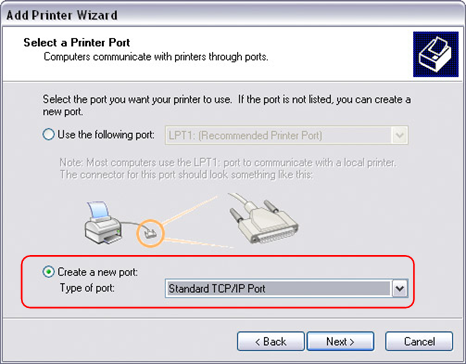
- Select Create a new port, choose Standard TCP/IP Port from the list and then click Next.
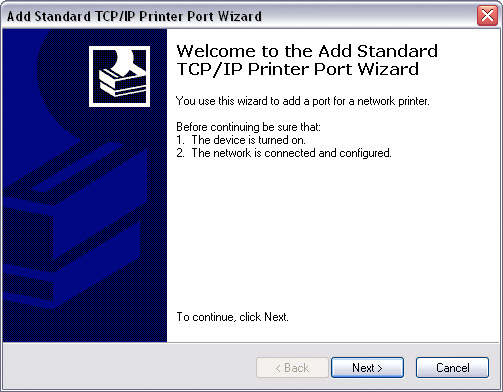
- Make sure the network drive and printer are both turned on and connected to the same local network as your computer, then click Next.
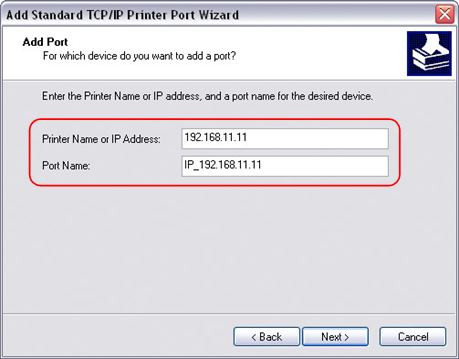
- Enter the IP address of your network drive (the port name will be filled out automatically) and then click Next.
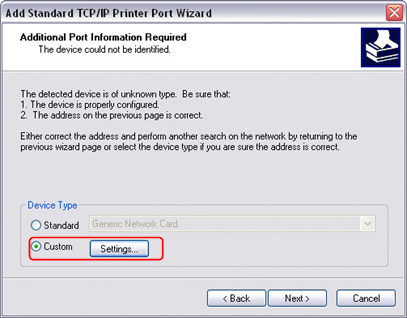
- Select Custom and click Settings to modify the configuration.
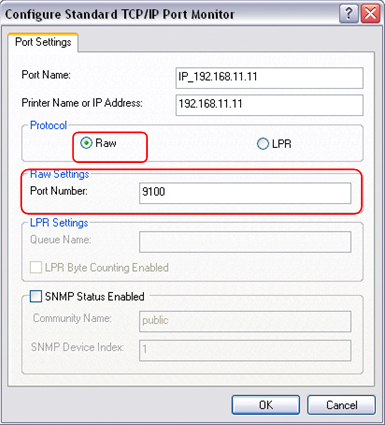
- Select Raw, use the default port number 9100 and then click OK to confirm it.
- Click Finish to complete the TCP/IP Wizard and close the dialog box.
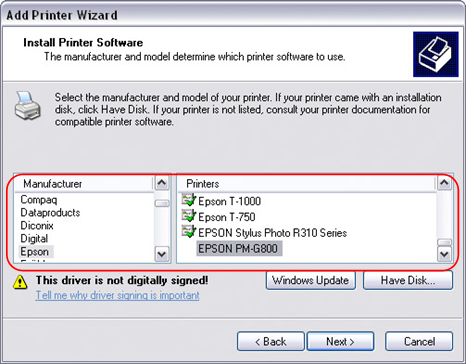
- After clicking Next, a pop-up window will appear asking for a driver. Select your printer model from the list or browse for the corresponding driver on your local drive.
- In the next few steps, you will be able to give the printer a name, set it as default printer, add a description and print a test page. It is not necessary to share the printer with other network users, because it can be installed on other computers in the same way as here.
- Once you have completed the set-up wizard your printer is ready.


Installation on a Mac
Printing via the shared network printer will be slower than when the printer is connected directly to the USB port on the computer. After you press the Print button, please wait for the printer to receive the data.
- Go to System Preferences and click Print & Fax.
- Click on the icon
 to add a new printer.
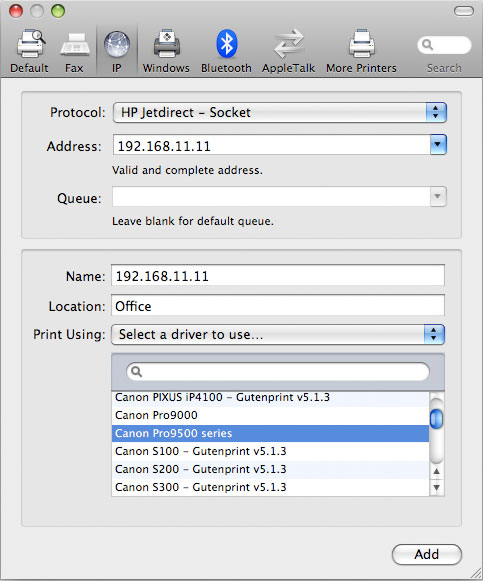
 - Select the IP tab. For the Protocol, select HP Jetdirect – Socket and for the Address enter the IP address of your network drive. The Name and Location are used to easily identify the printer and do not have to be the same as the ones used in this example. For the last step, select the corresponding printer driver and click Add.
- Done! Your printer has been set up and is now ready.


