This is an old revision of the document!
Table of Contents
FTP on a Mac
FTP has fast transfer rates and can be used both on the home network (LAN) and remotely (WAN). However, the files have to be transferred to the computer first, before you can open and view them. Also, you will have to know the IP address of your network drive and for remote access, port forwarding on the network router is required.
Setup FTP Service
- Login to your network drive as administrator.
- Go to Preferences > FTP.
- Make sure the FTP service is up and running.
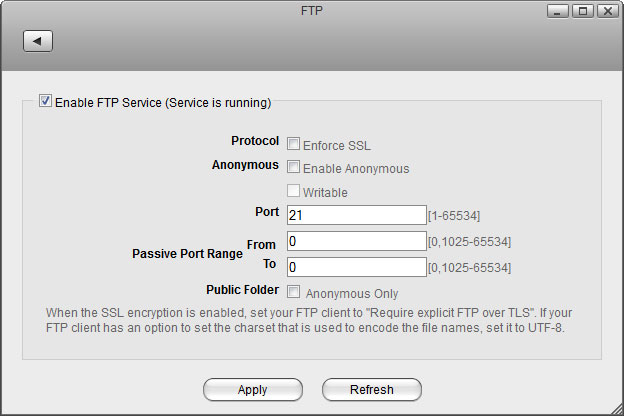
- If you plan on connecting remotely from outside your home network, it's best to enable the option Enforce SSL and to assist port forwarding, it's necessary to set a passive port range of about 50-100 ports.
Connect to Server
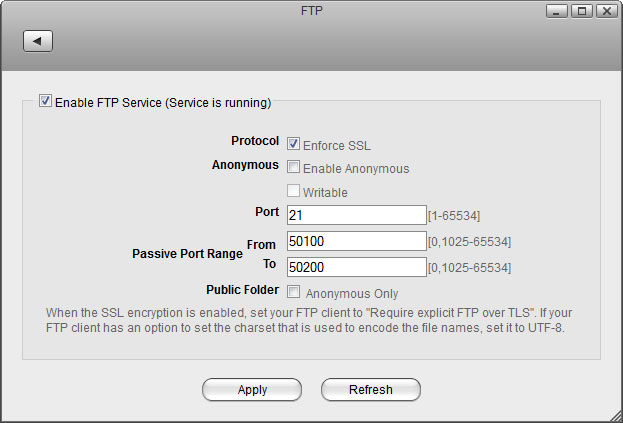
- From the Go menu in the menu bar choose Connect to Server or use the keyboard shortcut Command+K.
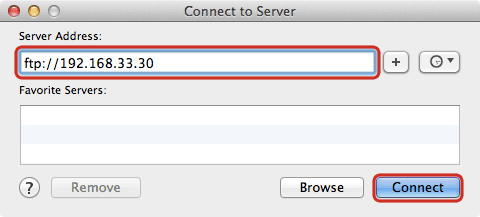
- Type ftp:// followed by the local IP address (e.g. 192.168.1.10) of your network drive and click Connect.
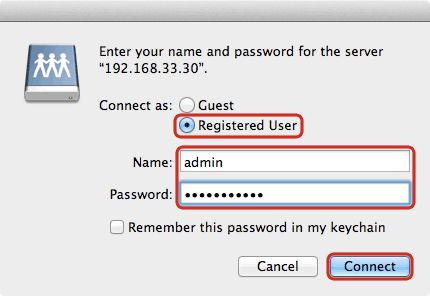
- Select Registered User, enter the login credentials of your user account on the network drive (e.g. admin/admin) and click Connect.
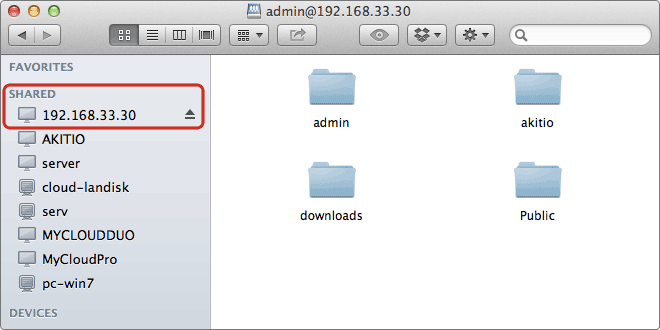
- The network drive is now listed in your finder under Shared devices. When no longer needed, click on the eject button to disconnect the drive.
FTP Client
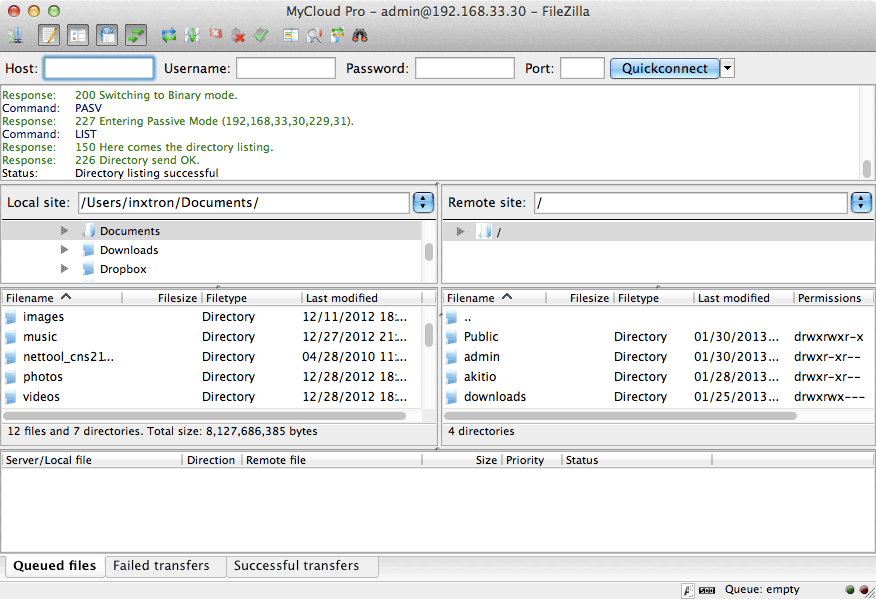
A FTP client makes it easier to manage multiple accounts and it is also more convenient to transfer the files. In addition, the FTP client provides functions like pause, resume, error logs, backup and more. If you already have a FTP client, simply use your preferred program. If you are still looking for a client, you could try FileZilla or Cyberduck just to name two.
- Start up your FTP client. In this example, we are using FileZilla.
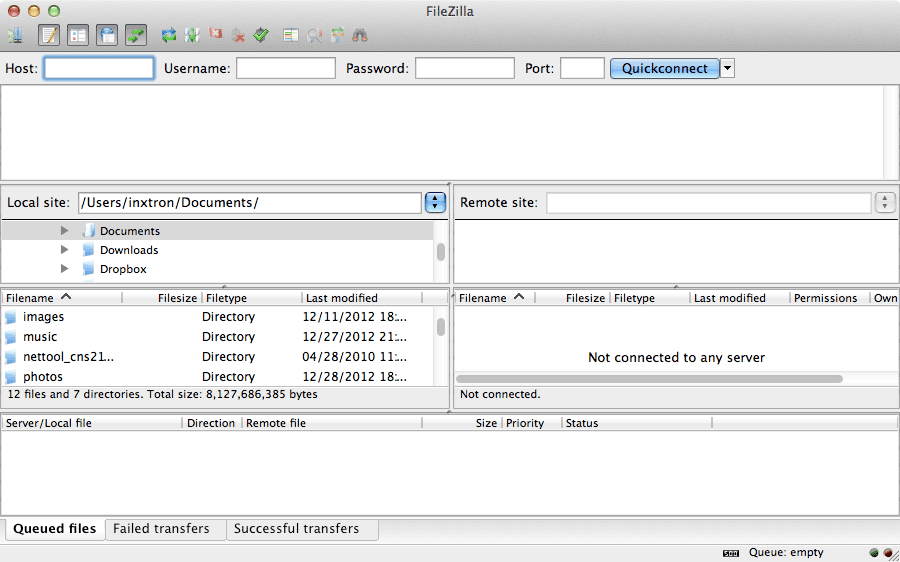
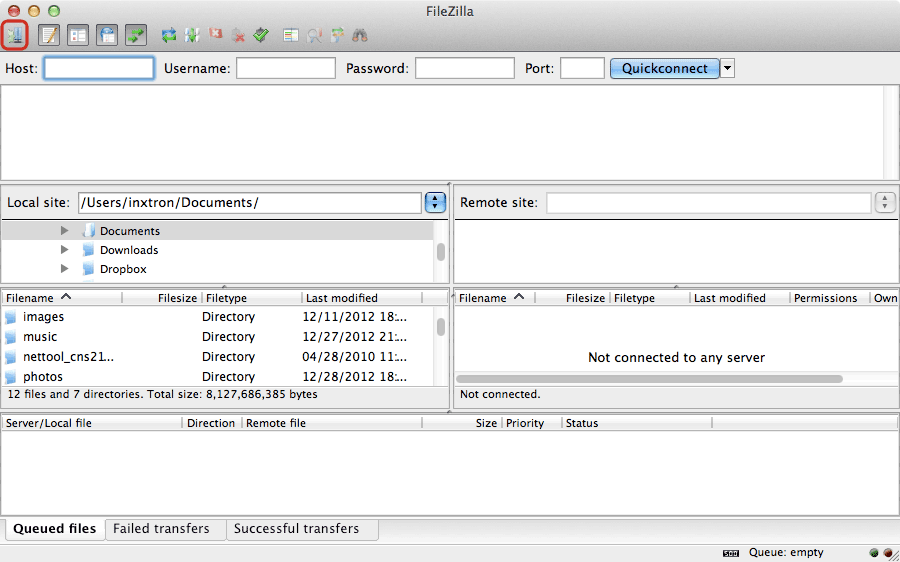
- Open the Site Manager.
- Click New Site and create a new account for your network drive.
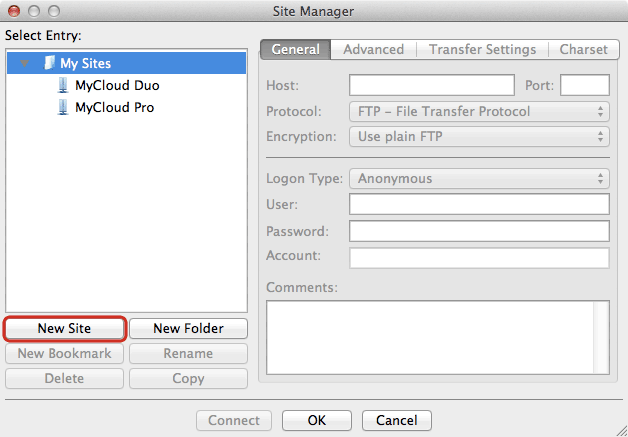
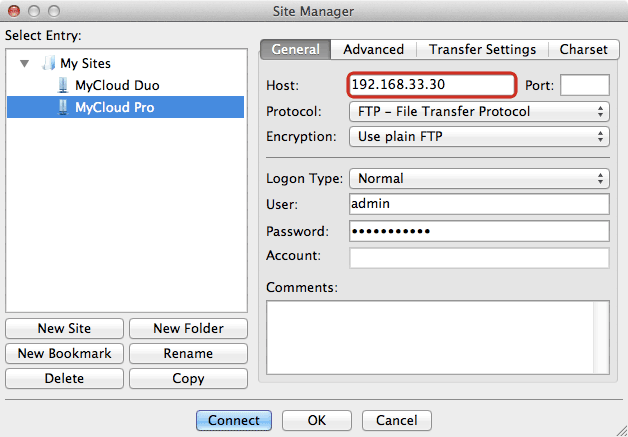
- For the host, enter the IP address of your network drive. On your home network, use the local IP address. For remote access, use the external IP address.
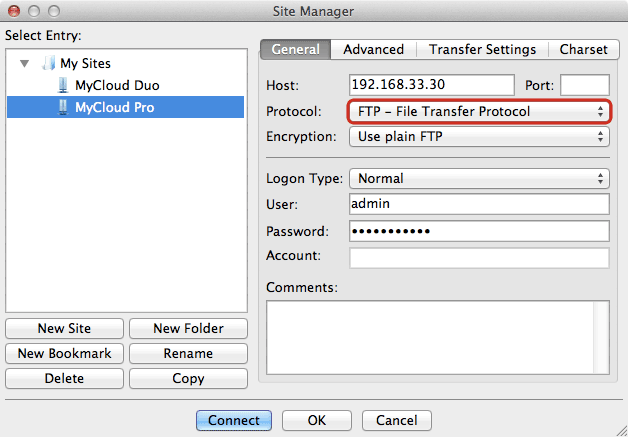
- For the protocol, select FTP - File Transfer Protocol.
- For the encryption, select Use plain FTP. If you have setup the FTP server to use SSL encryption, select Require explicit FTP over TLS instead.
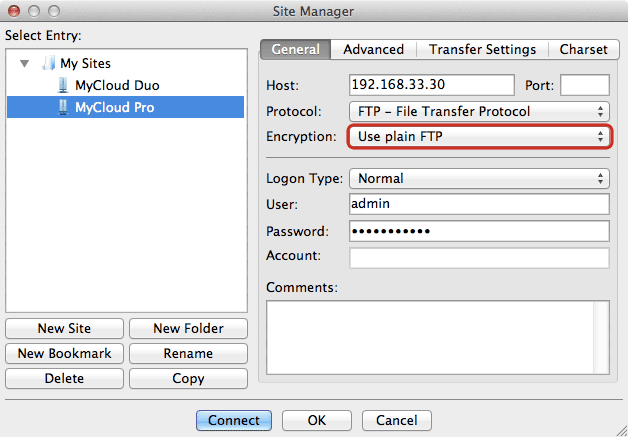
- For the logon type, select Normal and then enter the username and password of your user account on the network drive. As an example, the administrator would enter admin for both username and password.
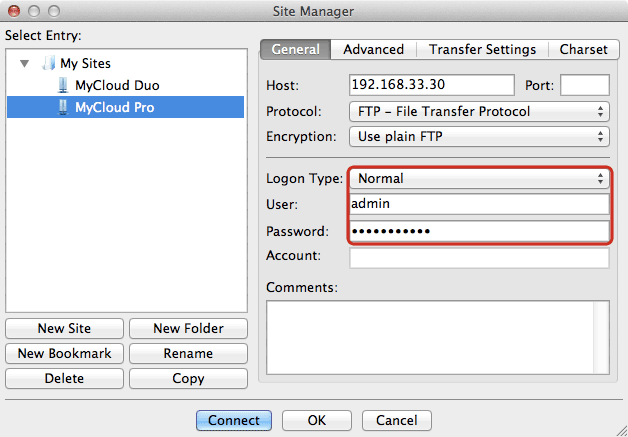
- Under normal circumstances, these are all the settings you have to configure and the rest can be left at default. However, if you have changed the port number for the FTP server and it's not using the default port 21, remember to enter the correct port number in the FTP client at this point.
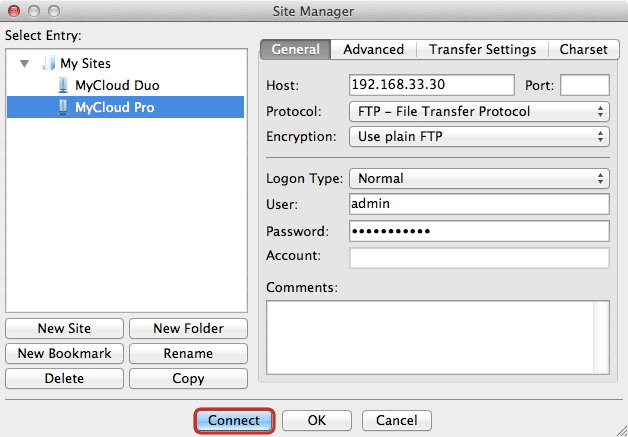
- Double check all your settings and then click Connect. If you are using SSL encryption, you will be prompted to accept the certificate at this point.
- You can now manage your files on the network drive.
