Table of Contents
Album
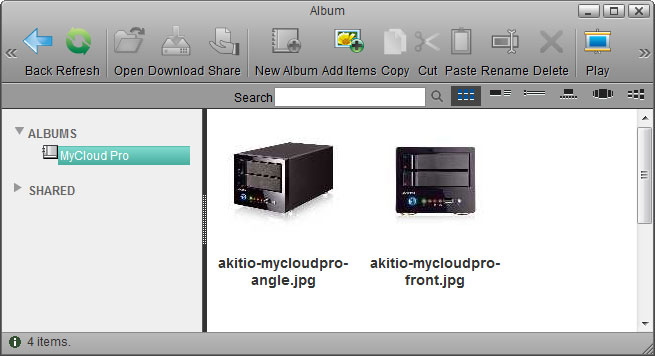
The album helps you to create your own albums using the pictures and media stored on the network drive. You can then share the albums with other users or publish them on the internet for friends that do not have a user account on your network drive.
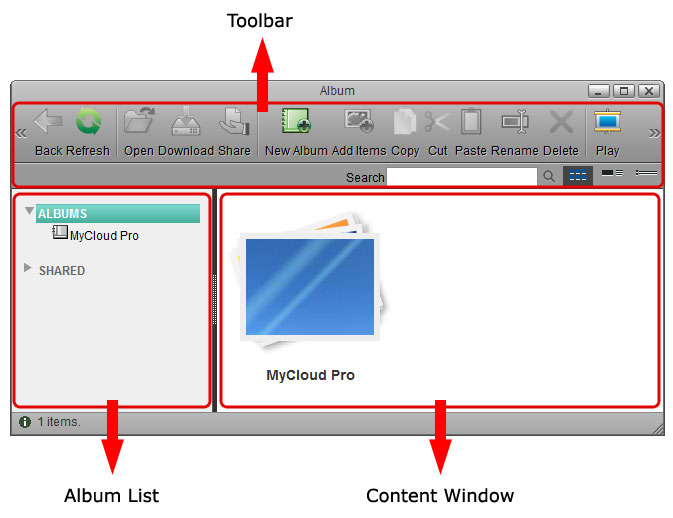
Toolbar
| Button | Function | Description |
|---|---|---|
 | Back | Go back to previous album. |
 | Refresh | Refresh the content window. |
 | Open | Open the selected item. For albums, this opens the album. For images, this opens the image in the image viewer. For other media files, this opens the file in the media player. |
 | Download | Download the selected file to your computer. |
 | Share | Open the share menu to manage how the selected album is shared among the other users and your friends. |
 | New Album | Create a new album. |
 | Add Items | Add new items to the selected album. |
 | Copy | Copy the selected file(s) to the clipboard. |
 | Cut | Move the selected files(s). |
 | Paste | Paste the file(s) from the clipboard or move the files to the selected album. |
 | Rename | Rename the selected file or album. |
 | Delete | Delete the selected file(s) or album(s). |
 | Play | Open the selected album in the album viewer. This opens a new tab in your web browser and displays the album just like your visitors see it when you share it with other users or your friends. |
 | Search | Enter a search term (partial or complete file name) and click the Enter key on your keyboard to show all files in the current album that contain that search term. Please note that the search term is case sensitive. To reset the search and display all files again, erase the search term and click the Enter key on your keyboard. |
 | View as Thumbnail | Shows content as thumbnails. |
 | View as Details | Shows content as thumbnails with additional details. |
 | View as List | Shows content in list view without thumbnails. |
 | Slide Show | Shows content as slide show. Note that this view is only available when an album has been opened already. |
 | Cover Flow | Shows content as cover flow. Note that this view is only available when an album has been opened already. |
 | Cooliris 3D Wall | Shows content on a 3D wall with help of the Cooliris plugin. Note that this view is only available when an album has been opened already. |
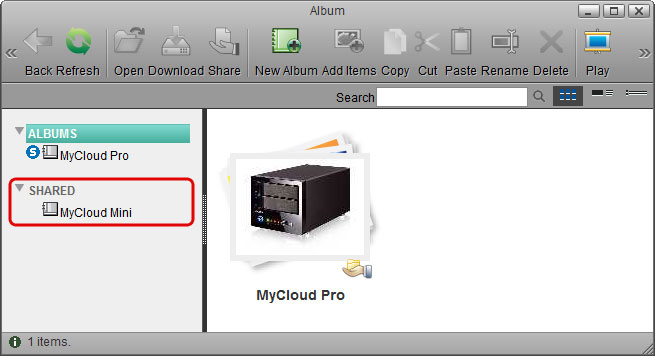
Album List
In the album list you can see all your own albums as well as any albums that have been shared with you by other users.
| Button | Function | Description |
|---|---|---|
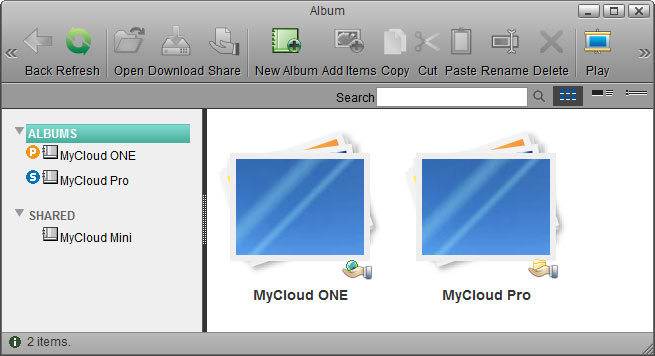
| ALBUMS | Personal Albums | Shows all your personal albums. |
| SHARED | Shared Albums | Shows all the albums that have been shared with you by other users. |
 / /  | Shared Album | Indicates that this album is currently shared with other users. |
 / /  | Published Album | Indicates that this album is currently published. |
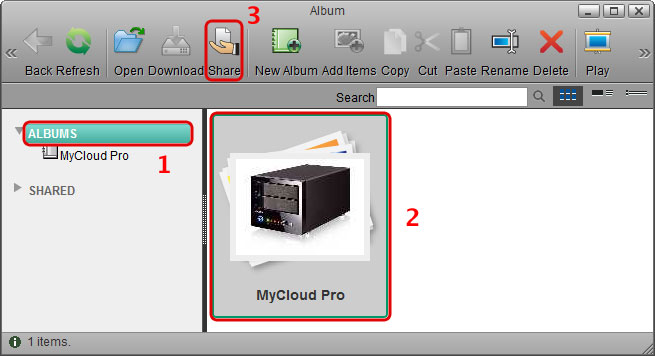
To share an album, do not select the album in the album list but select ALBUMS and then select the album in the content window. Once you have selected an album in the content window, the Share function will be made available.
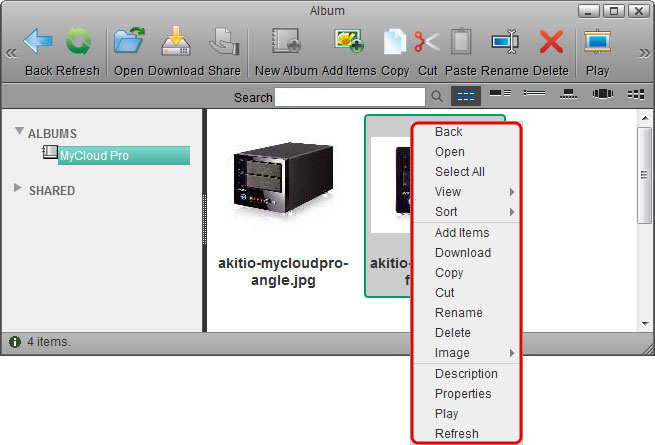
Context Menu
To edit the files, you can also use the context menu by right-clicking on a file in the content window.
| Command | Description |
|---|---|
| Back | Go back to previous album. |
| Open | Open the selected item. For albums, this opens the album. For images, this opens the image in the image viewer. For other media files, this opens the file in the media player. |
| Select All | Select all files in the current album. |
| View | Select how the media files are displayed.
|
| Sort | Select how to sort the media files.
|
| Add Items | Add new items to selected album. |
| Download | Download the selected file to your computer. |
| Copy | Copy the selected file(s) to the clipboard. |
| Cut | Move the selected files(s). |
| Paste | Paste the file(s) from the clipboard or move the files to the selected album. |
| Rename | Rename the selected file or album. |
| Delete | Delete the selected files(s) or album(s). |
| Image |
|
| Description | Edit the description of the selected file or folder. |
| Properties | Show the properties of the selected file or album. |
| Play | Open the selected file in the album viewer. This opens a new tab in your web browser and displays the album just like your visitors see it when you share it with other users or your friends. |
| Refresh | Refresh the content window. |
Selecting multiple items
To select multiple items in the content window, you can:
- Control (Ctrl) click: Press and hold the control key to select multiple files in random order.
- Shift (Shift) click: Select the first file in a sequence, press and hold the shift key and then click on then the last item to select a range of files in order.
- Select All: Right-click to open the context menu and use the select all command to select all files in the current playlist.
Album Management
Create a new album
- Select ALBUMS in the album list (do not select one of the albums but the top folder in the list) and click New Album.
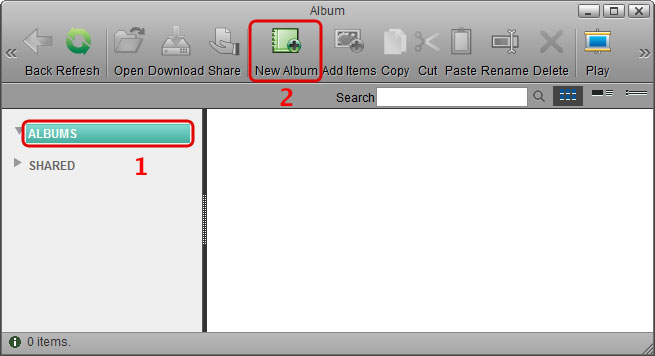
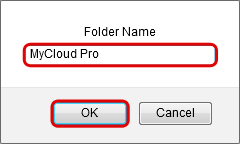
- Enter a name for the new album and click OK.
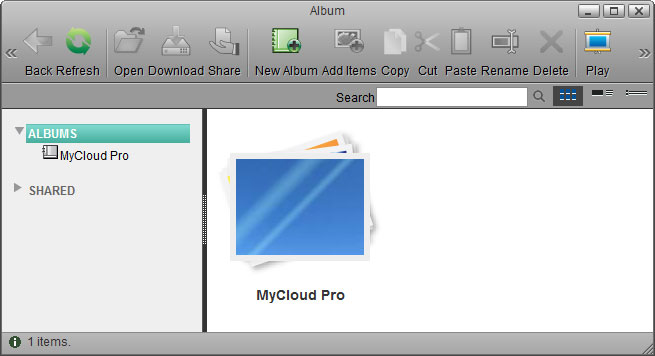
- The new album now appears in you album list and in the content window.
Add new items
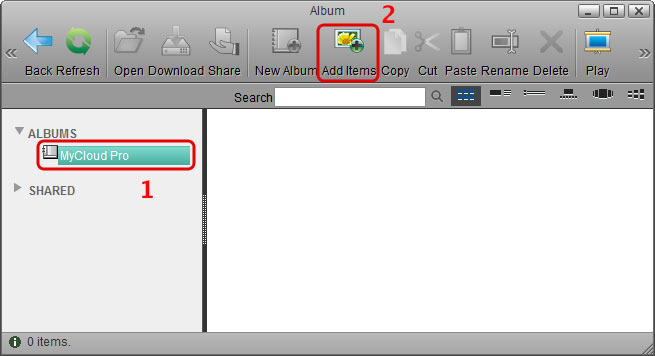
- Select one of your albums from the album list and click Add Items.
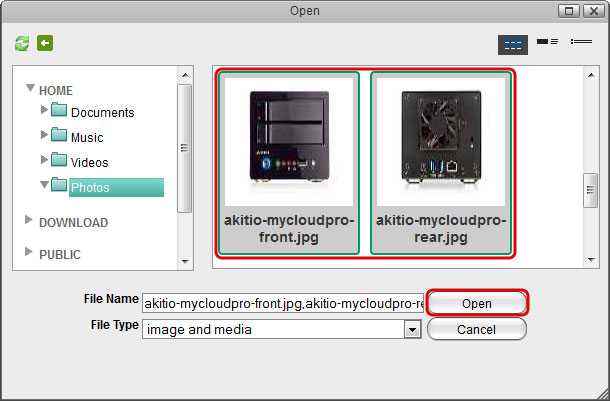
- Locate and select the media files that you would like to add to this album and click Open.
- The new items are now added to your album.
Publish an album
- Select ALBUMS in the album list (do not select one of the albums but the top folder in the list), select the folder that you would like to share in the content window and then click Share.
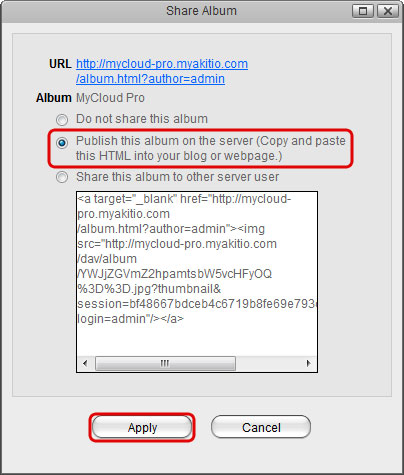
- Select Publish this album on the server and click Apply.
- Depending on how you would like to publish this album, you can:
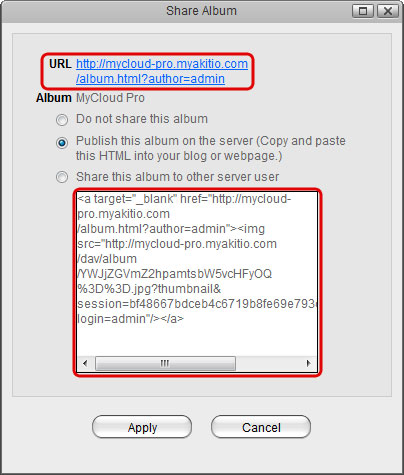
- Copy the URL and post it on Twitter, post it on Facebook or send it to your friends by e-mail.
- Copy the HTML code and post it on your blog article or webpage. This code will display the cover image of your album and link to the album on your network drive with the same URL as seen on top of this window.
- You can now close this window.

- The published folder is now marked both in the album list and in the content window.
To stop publishing the album, select it again as seen in step 1. Select Do not share this album and click Apply.
Share and album
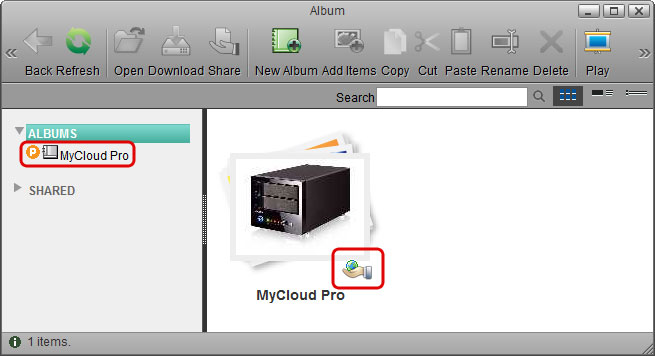
- Select ALBUMS in the album list (do not select one of the albums but the top folder in the list), select the folder that you would like to share in the content window and then click Share.
- Select Share this album to other server user, place a tick in the box for the users you would like to share the album with and click Apply.
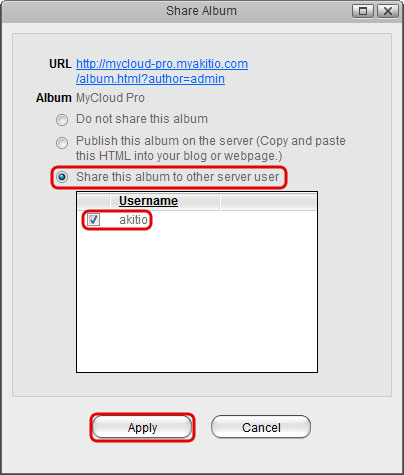
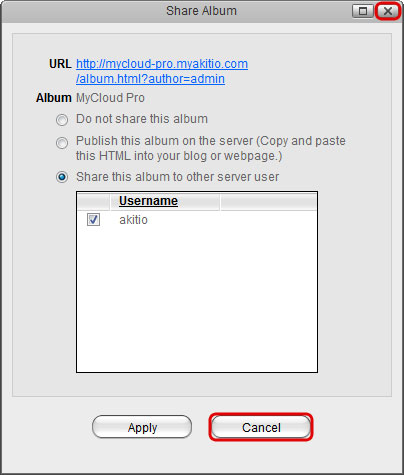
- You can now close this window.
- The shared folder is now marked both in the album list and in the content window.
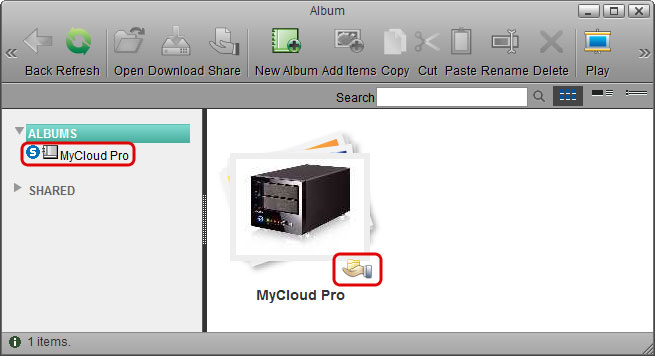
- The users that you granted access to this album can now view it in their album list under SHARED.
To stop publishing the album, select it again as seen in step 1. Select Do not share this album and click Apply.
Album Viewer
For more information about the album viewer, see Applications > Album > Album Viewer.
